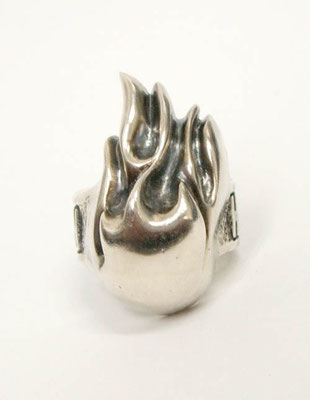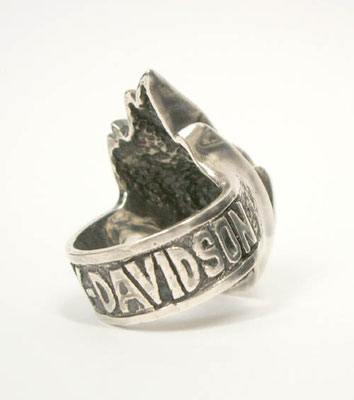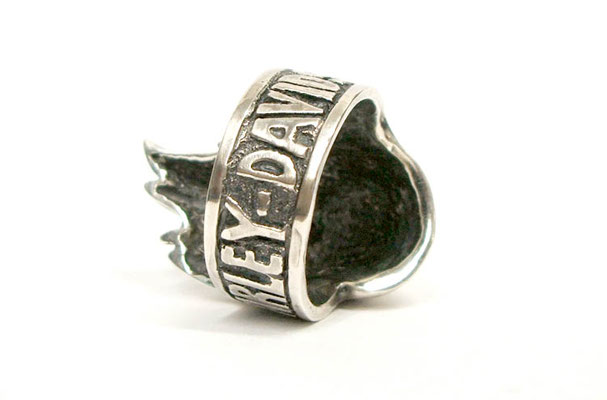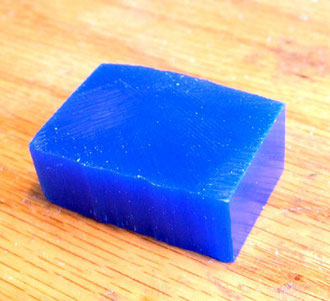
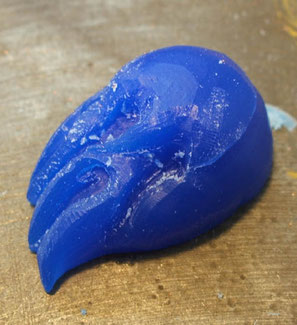
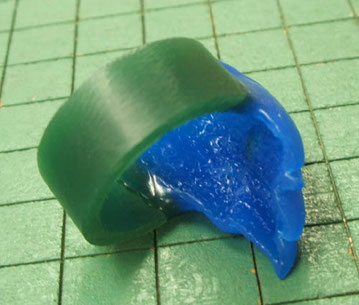
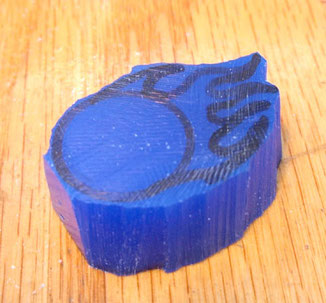
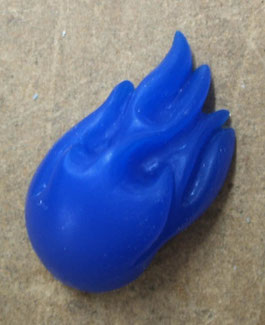
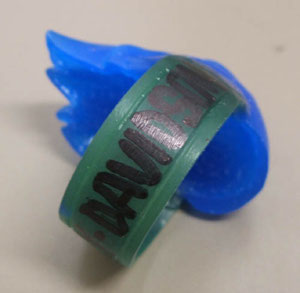
Lots of Process shots today! The first thing off the top of my head since I just finished editing the photos this very moment - right after I finished making the ring itself. I completely guessed the size so hopefully this will end up fitting my brother on his birthday tomorrow. As you can see from the photos, I started out making the fireball as a separate piece before eventually adding it to a ring shank that I created. I was going to keep the fireball fairly simplistic, however after starting to carve it out I added a few more flares, for a more layered look. Once I attached the the ring I had to redraw the logo on three or four times until I liked the placement of it. After I cast it and polished it up a bit I decided to add a patina to it to make it look a bit more bad-ass, somehow it didn't look as good at a simple high polish. All in all, I'm glad I challenged myself with the logo on the band. I could probably spend several more hours perfecting it, but I am pleased with how it turned out. I hope my brother likes his new ring!